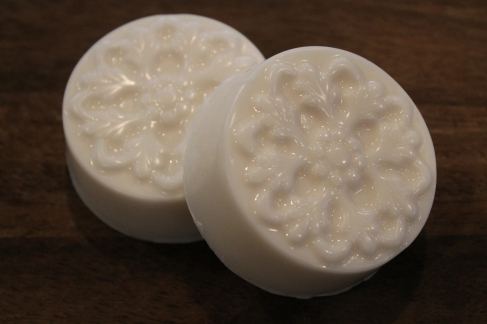
I love bees and all things bees (except being stung). I’ve decided to start using products that incorporate that love into my daily life. So, I’ve starting making honey soaps. My first batch was a goat’s milk soap, and I must say the results smell delightful.
My favorite is variety in which I combine my favorite scents–vanilla and almond–with honey and toasted oats. The result is a smooth, creamy soap with a gentle, earthly aroma with subtle hints of sweetness.
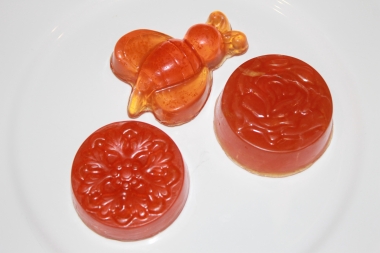
 The idea behind the soap varieties that I’ve created is that each contains a natural exfoliating quality. Thus far, I’ve used coconut, toasted oats, and orange zest to add texture and natural scents to my soaps. In the image below, I chose to use the zest of one organic orange to add a fresh, invigorating scent boost–and an uplifting color punch–to an orange honey glycerin soap.
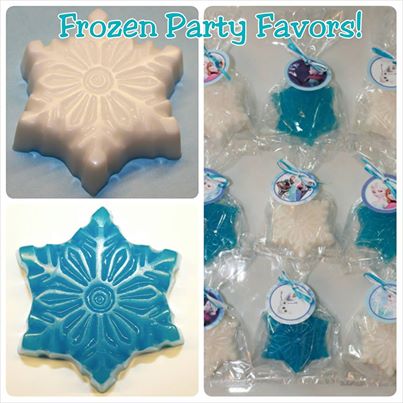
 You may also choose to add colorants, as I did with my fun blue coconut variety.
 Enough about my soaps. Now it’s time to make your own!
How to Make Soap – Honey Almond Vanilla Goat’s Milk Variety
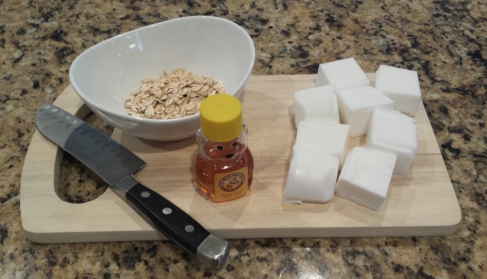
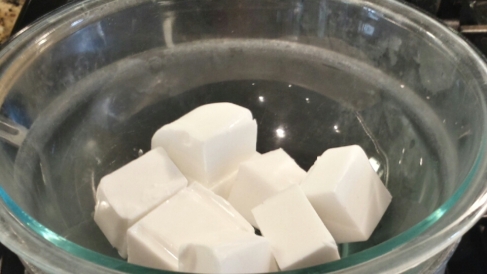
Being a soap-making novice, I opted to start with a base soap. I chose goat’s milk because I was looking for a creamy spa-like soap with a rich lather. To make a small batch of either goat’s milk soap or glycerin soap, you will need:
8 ounces soap base
1 tsp. honey
1/2 to 1 1/2 tsp. each: almond extract, vanilla extract, and/or essential oils
1/8 cup whole oats
Soap mold(s) – available at your local craft store
 To begin, melt 8 ounces of the soap base in the microwave at 30 second intervals. You may also choose to use a double-boiler method, but I find microwaving to be more efficient when making small 8 ounce batches.
 Between melting intervals, toast 1/8 cup of whole oats in a 250 degree oven for about 3 minutes. Lay the oats in a thin layer on a baking sheet for an even toast. You are looking for a slightly golden tint. But, you don’t want burnt oats so watch (and smell) carefully.
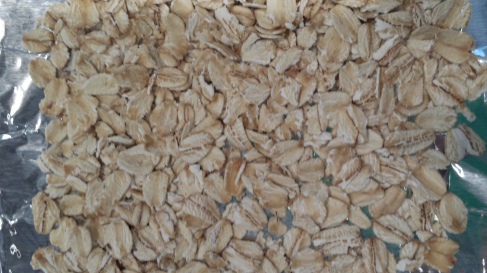 Then, briefly run the oats through a chopper to eliminate large pieces of oats. The idea is to have tiny oat flecks to gently exfoliate the skin while washing.
Next, add the oats oats to the melted soap base along with: 1.5 teaspoons of vanilla extract (cooking grade), 1/2 teaspoon of almond extract, and 1 teaspoon of honey. Once combined, simply pour the mixture into soap molds. If there are bubbles on the backside of the soap, simply spray it lightly with rubbing alcohol until they disappear (this is easy–and magically makes your soap appear silky smooth on the back!).
Depending on your time schedule, you may: let your soap harden on the counter (about 1 hour), put your soap molds in the refrigerator (about 30 minutes), or place the molds in your freezer (about 20 minutes). Once hard, turn the molds over on a solid countertop and press gently in the center of the mold to release the seal. You may find that the soaps are hard to remove. If so, slide them in the freezer for about 10 minutes to break that seal. NOTE: If your soap is still warm to the touch, do not attempt to release it from the mold.
I hope you will find soap making to be as fun and rewarding as I have. Once you’ve successfully made a batch, match different scents and shapes together for a cute basket to give as gifts–or simply keep for yourself to indulge in.
If you’re interested in purchasing soaps seen in this post, please visit my Etsy shop, ANESoaps, or click HERE.